
Bryan testing the Vive with our computer and screen capture hardware in the foreground. More behind-the-scenes photos on Twitter.
After nine days labored, three cities visited and over 21,000 miles traveled, our team finished helping film "Change Your Reality: A Global Doctor Strange Experience." Denizen Company are the creative minds and collaborators behind the project -- we're excited to have been a part of the work.
The experience features three very talented Tilt Brush artists who were tasked with interpreting dimensions from the world of Doctor Strange. In each city, the artist painted and showed off their work to the public.
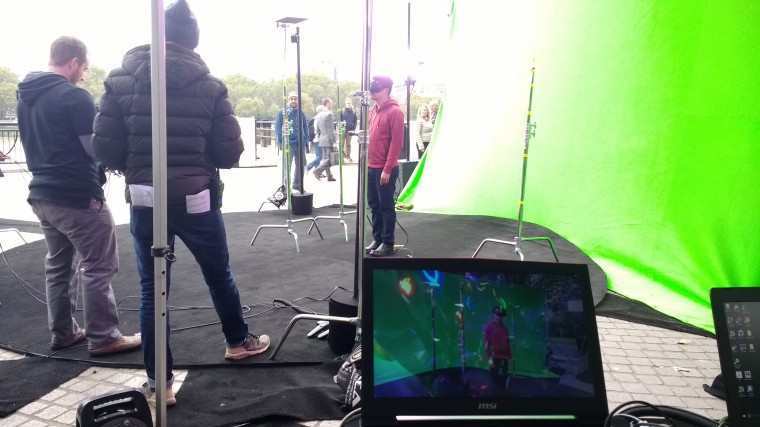
VR artist Stuart Campbell chatting with crew members Joe and Alex in Hong Kong. That monitor next to him is displaying his point of view.
AfterNow's role was to capture the whole thing in mixed reality (MR). MR allows people outside of virtual reality (VR) to understand what those inside are experiencing by showing the participants standing in that world.
Here's an overview of how we bent reality with Danny Bittman in New York, Steve Teeple in London, and Stuart Campbell in Hong Kong:
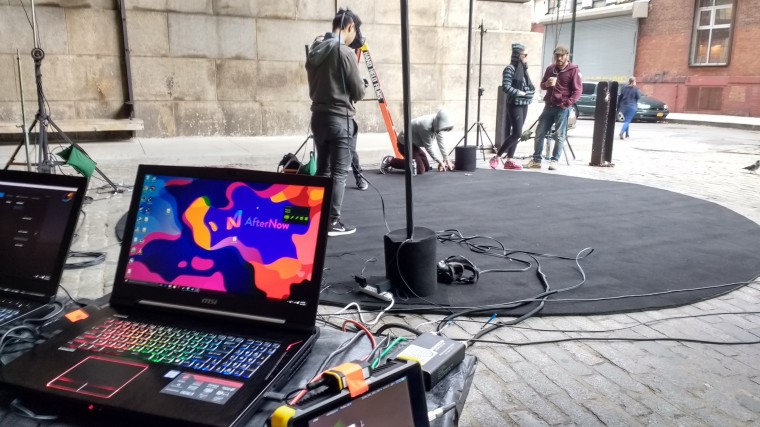
The process for capturing MR is similar to a visual effects pipeline. Computer-generated (CG) images are captured from the same perspective as a live action camera. The CG images are then composited with the live action images, placing the participant into the virtual world. The main difference is that the images are rendered live on set.
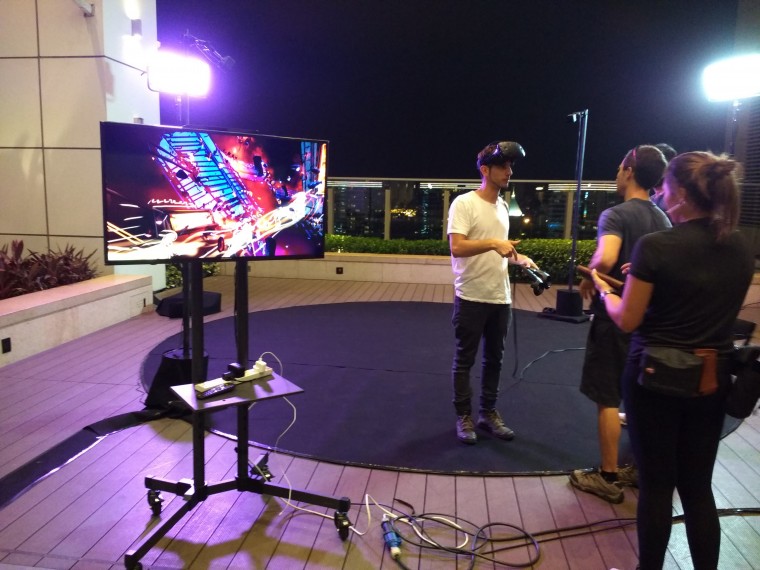
Fan participates in the experience in NYC.
How we set this up:
First, we mount a Vive controller to our live action camera. It needs to be a solid mount because we use the controller as a proxy for our virtual camera, and it needs to match each live action move exactly.
Next, we need to find an offset between the controller and the camera where it’s mounted. The virtual and live action camera need to be lined up perfectly -- so if the controller is mounted above the camera, we have to find how far above the camera it is. We also calculate the field of view (FOV) of our live action camera to set our virtual camera’s FOV (we’re going for precision here so it’s best not to eyeball it).
Finally, once our virtual camera is calibrated, we set up our render. Many Vive games ship with code designed to film mixed reality. We use this code to generate two 4K streams: one for our participant's headset and one containing renderers from our virtual camera. We then do a screen capture of the virtual camera’s stream.
This is just a snapshot of our adventure. In my next posts, I'll take a deeper dive into our mount, how we handled calibration, performance challenges, and how we coped with jitter. We’re learning a lot and having a blast building on the growing catalog of work in the VR community.
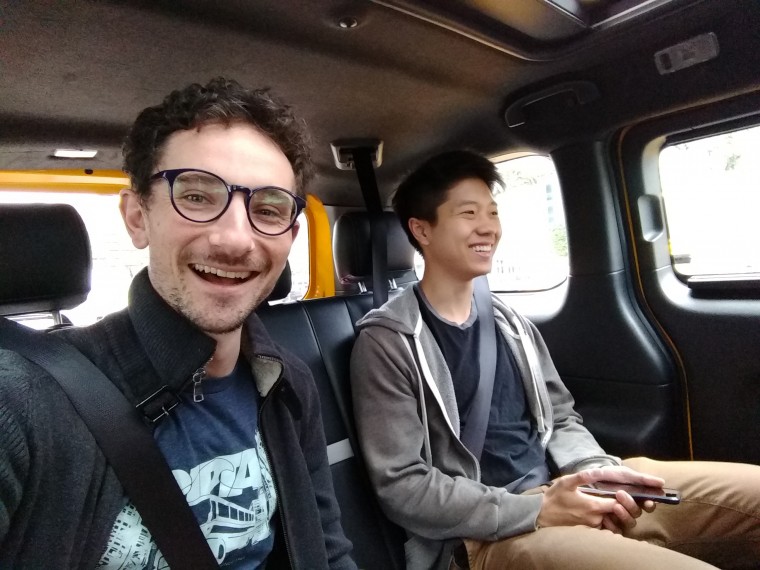
Bryan (on the right) and I on our way to our first day on set at DUMBO Park in Brooklyn. We ended up on the wrong side of the East River, noob mistake.
